Kellie over at Sevens Emporium just did a great blog post all about using felties and showcased my versatile sliders! Head over to her blog to grab the coupon code that will take 40% off regular priced purchases on akaapplique.com. https://www.sevensemporium.com/general-information/all-about-felties/
Category: Felties
Basic Steps to Make a Feltie
This is how the majority of my feltie files are stitched. Some of my designs add the felt to the back of the hoop before the last step. I always include a PDF in my files that include the stitch chart and written instructions.
When I refer to color steps in my instructions, I am referring to the steps shown here in the color chart.
1) Hoop tearaway stabilizer.
2) Stitch color step 1, the placement stitch directly onto the stabilizer.
3)Place your felt on top of the placement stitches.
4) Stitch color steps 2-7, the detail steps. (The number of steps will vary greatly with each design.)
5) Take the hoop off of your machine and place a piece of felt on the backside of your hoop. Use a touch of temporary adhesive spray or tape along the edges to keep the felt from falling off.
6) Place your hoop back on the machine and stitch color step 8, the final outline. (With some designs this is the last 2 or 3 steps.) Take out of the hoop and cut the cute feltie out!
Mollie Mouse can be purchased here: http://www.akaapplique.com/shop/molly-mouse-feltie-embroidery-design/
How to Group and Sort Felties in Sew What Pro
How to Group and Sort Felties in Sew What Pro
1. Open feltie file in SWP.
2. Check the steps to make sure all the steps have different color. Select the step and click in the box to the left to a different color if the color is a duplicate.
3. Go to Options -> Hoops or press Ctrl + H to change to desired hoop size for your format. For the purpose of this tutorial, I am going to choose pes 5×7 hoop. Click OK.
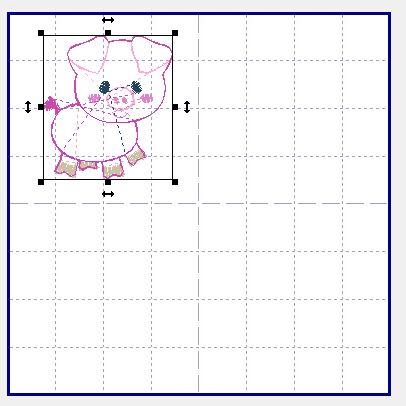
4. Click anywhere on your design. A dash line box will enclose your design. Drag design to upper left corner.
5. Press Ctrl + C to copy and Ctrl + V to paste. Then drag design to desire location. Repeat until the area is filled.
6. Now it will still sew out each feltie separately. We have to sort the thread in order to sew out all 8 one step at a time. Go to Edit -> Join Threads or press Ctrl + J.
7. In the dialog box, check the lower box and start with 1 in the box. Click OK. This means join all threads of the same color starting step 1. Repeat for the rest of the steps but remember to change the step number.
8. Now you can click on the steps and see that it has been sorted.
9. Save if you have not saved the file.
How to Color Sort files using Embird
I offer my feltie files grouped and color sorted for the 4×4 and 5×7 hoops. (The pig that I used for this tutorial is available here.) However, I know that some files you may purchase are not offered this way and are purchased as single files. So, I thought I would give a short tutorial on using Embird to color sort these files yourself. I use Embird, so it is the the software I am going to explain today. Hopefully I can find someone to give us a tutorial with another popular software soon. Alright, lets get started.
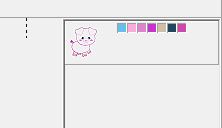
You will need Embird Editor ( Here is a trial version) in order to merge, group and color sort your feltie files. Once you have the program installed it will open in Manager. You will need to click the button the red arrow is pointing to to open Editor.
Once in editor you will need to import the design that you are wanting to color sort. Do this by clicking on the button here:
Once you choose your design, click “ok” and it will appear in your hoop. Now, choose the hoop size you are using by clicking on this button:
Once you have the design in the size hoop you want, check and make sure that all the color steps are different. If any of the steps are the same color it will merge steps when you color sort making steps “hop” out of order. If a step is the same color, you can change it by double left clicking on the color box.
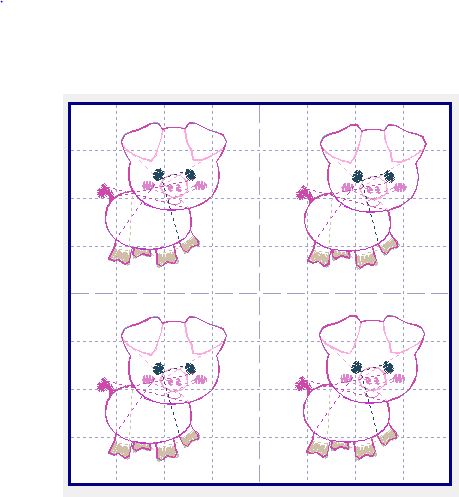
Now, select your design by clicking “A” while holding down the “ctrl” key on your keyboard. Once the design is selected press “D” while holding down the “ctrl” key on your keyboard to duplicate the design. I pressed “D” 3 times for this example because I wanted a total of 4 pigs in my hoop.
You will have to spread them out in your hoop after they are duplicated. Now you want to “select all” by pressing the “A” while holding down the “ctrl” key again.
Once all the files are selected, you will need to press this button on the toolbar. (You can also choose “smart color sort” while right clicking on the selected files.)
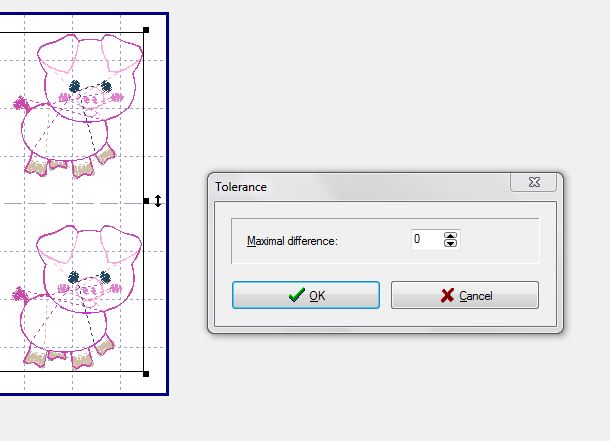
Then choose “0” on the pop up box for maximal difference and hit enter.
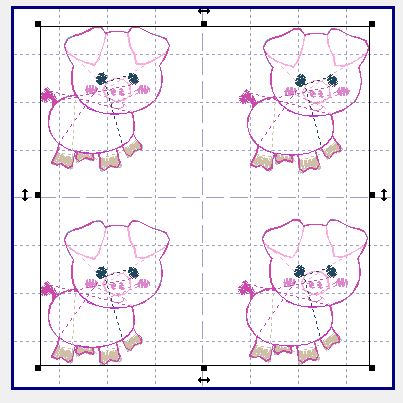
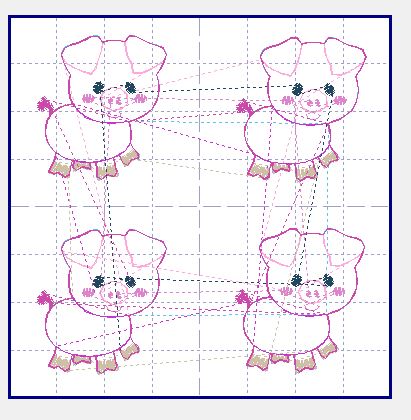
Now your hoop will look like this:
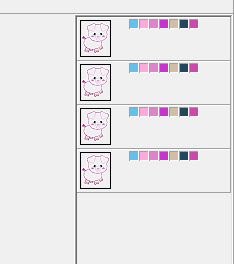
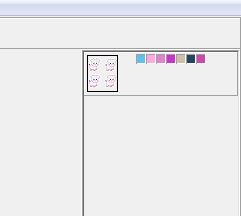
And the right side will have one merged group instead of 4 separate files. Make sure you have the same number of steps in the final color sorted file as you do for the individual file. If not, you have at least two steps that are the same color or too similar in color and they combined. You will need to start over and make sure you change the colors for those steps before duplicating the file.
And you are done!! Just select “File” and “Save As’ to save your newly color sorted hoop of felties!!
The images used here are property of AKA Applique. You do not have permission to use them in any form.


